
 English
 Español
 Tiếng Việt

Truck Dock Leveler: A Complete Buying Guide with Load Ratings and Safety Tips A practical field gu...
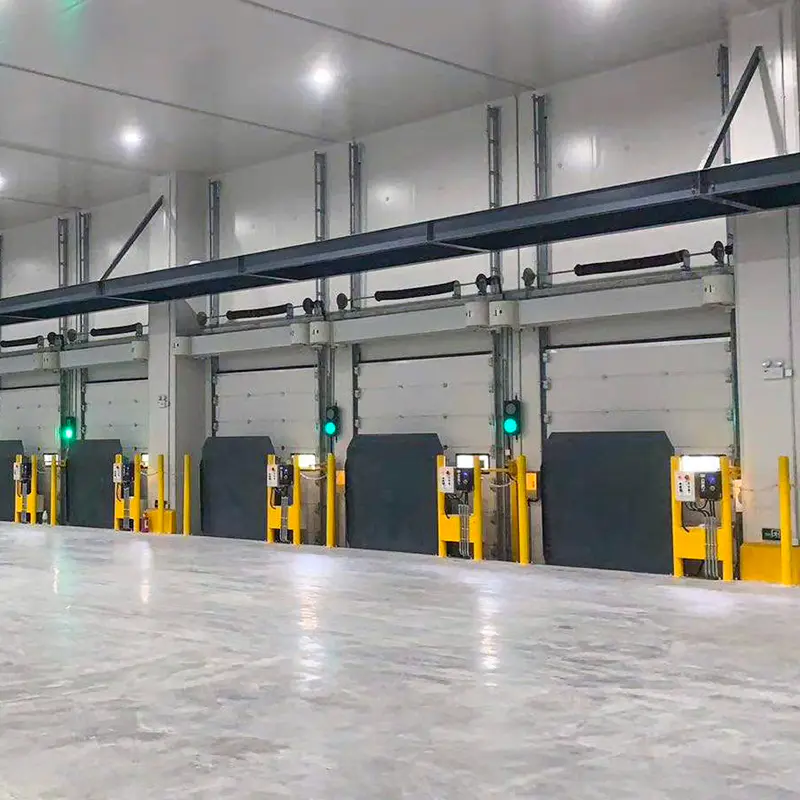
The forklift is staged at the dock, the concrete has cured, and the crate with the new hydraulic dock leveler is on the apron. Most install teams want to cut the straps and lower the unit into the pit immediately. That is the wrong starting point. A hydraulic dock leveler installation succeeds or fails before the leveler leaves the crate, because the pit geometry, concrete condition, and hydraulic supply decide whether the unit can be aligned, anchored, and cycled safely. When those prerequisites are right, the actual installation can be finished in a single working day.
Verify Pit Dimensions and Concrete Condition First
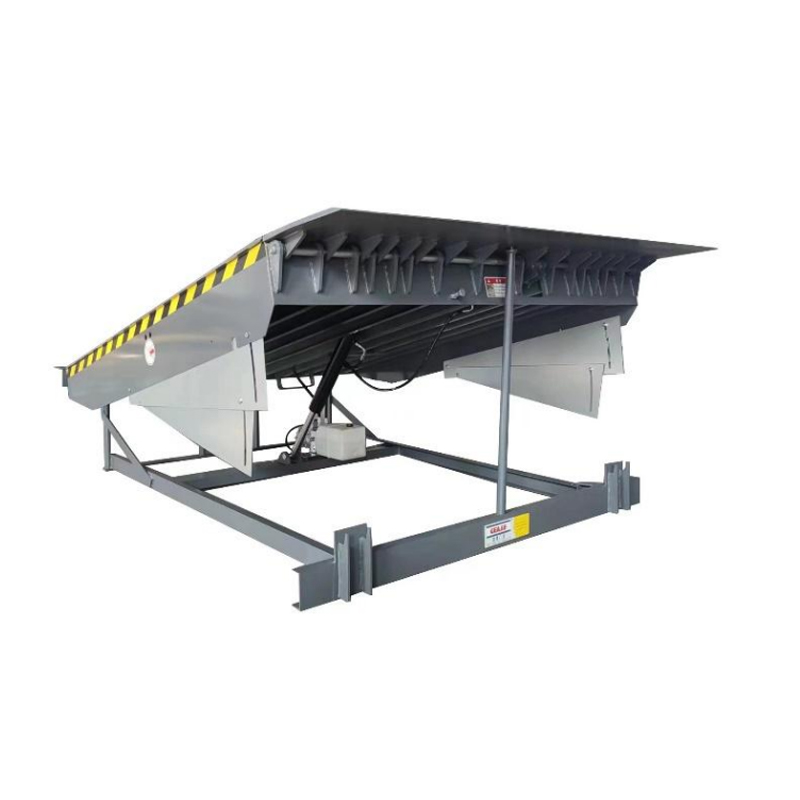
Every hydraulic dock leveler ships with a dimensional drawing, and that drawing is the single source of truth for the pit. Confirm the pit depth, pit width, and the recess area under the front lip before anything else. A typical fixed hydraulic unit, such as the DL1000 industrial hydraulic dock leveler, requires a pit depth of around 600 mm in many installations, but the exact figure depends on platform length, lip design, and below-floor component clearance. Do not assume that a pit which held a mechanical leveler automatically suits a hydraulic unit; cylinders and hoses need extra clearance.
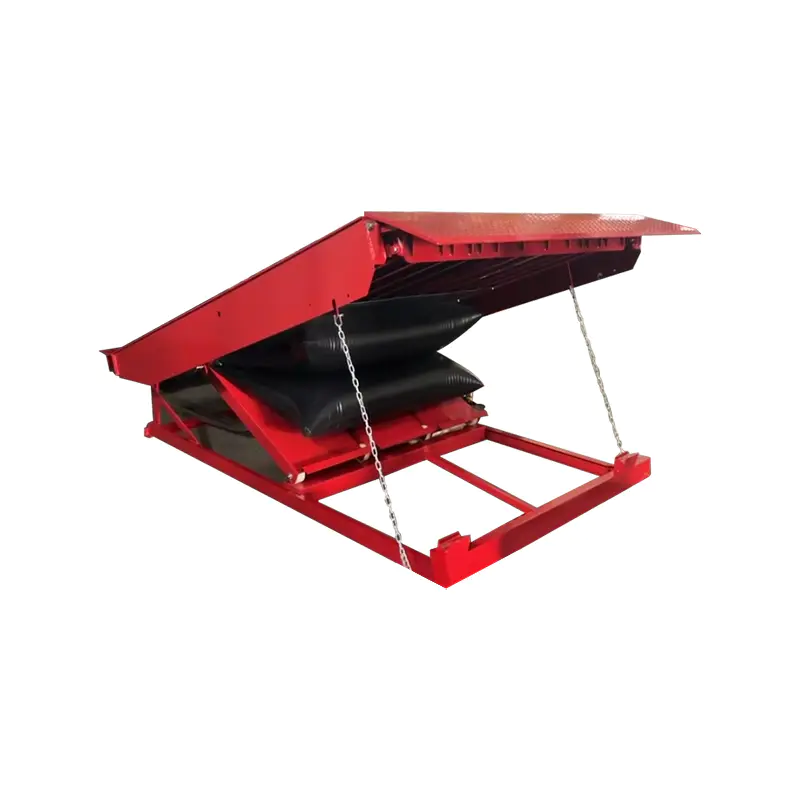
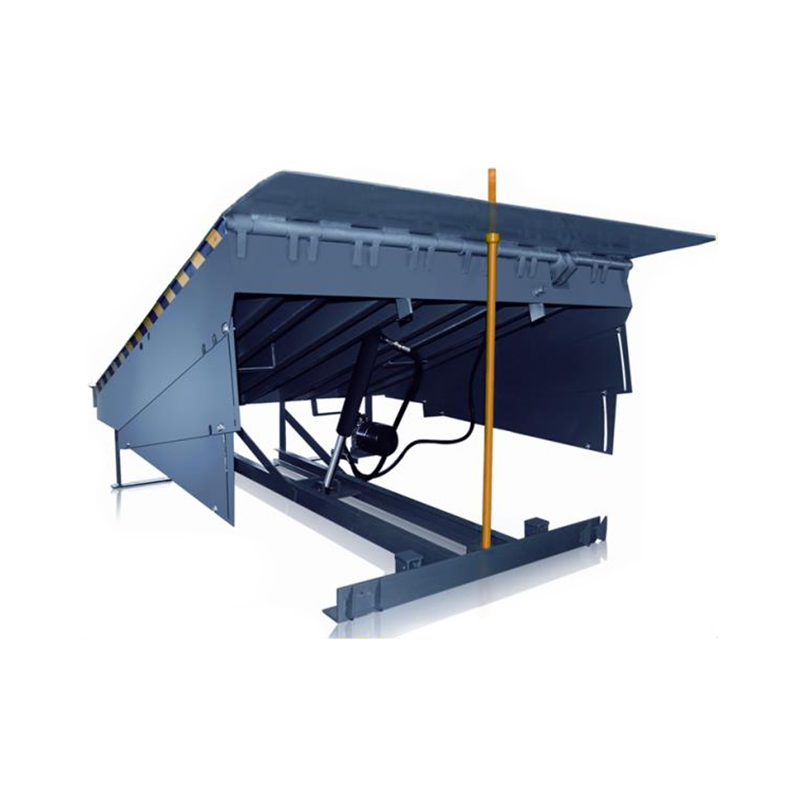 Wholesale DL-1000 Industrial Hydraulic Dock Levelers Manufacturers, OEM/ODM FactDongtai Geajie Intelligent Equipment Co., Ltd. is China OEM/ODM DL-1000 Industrial Hydraulic Dock Levelers manufacturers and wholesale DL...View Product →
Concrete quality matters as much as concrete dimensions. The pit should be poured with C25/C30 grade concrete or better, and the concrete must reach sufficient strength before anchoring. Full curing typically takes 28 days; expedited schedules may allow anchoring after 14 to 21 days when test cylinders confirm compressive strength. If the pit has embedded steel channels, verify that they are flush with the finished floor, level across both sides, and positioned to match the frame bolt pattern. Uneven channels force excessive shimming and create long-term rocking problems.
| Pit parameter | Typical requirement | Consequence of getting it wrong |
|---|---|---|
| Pit depth | Per drawing, commonly around 600 mm | Platform sits too high or too low; forklift impact on the dock edge |
| Pit width | Frame width plus clearance for shims and access | Frame cannot be aligned or secured |
| Concrete grade | C25/C30 or higher | Anchors pull out under rated load |
| Curing time | 28 days for full strength | Delayed anchor failure and frame movement |
| Embedded channels | Flush, level, and aligned to frame bolt pattern | Excessive shimming; unstable final position |
Prepare Tools, Rigging, and Hydraulic Supplies
Hydraulic leveler installation is a rigging-and-welding job as much as a mechanical one. Prepare the following before opening the crate:
- A forklift or overhead crane with rated capacity above the leveler weight, plus lifting chains, a spreader bar, and shackles. Many units provide fork pockets for the forks themselves.
- Steel shims in assorted thicknesses, a welding machine, or the specified chemical or expansion anchor bolts if the pit has no embedded steel.
- A precision level, a torque wrench, and the manufacturer-recommended hydraulic oil for the power unit.
- Barricade tape, protective gloves, safety glasses, and a second person to direct the lifting path.
If the electric motor is hard-wired, confirm that the supply voltage and phase match the nameplate, and position the main power disconnect near the dock so the installer can lock it out while connecting the motor. The same lockout/tagout rule applies if the dock area has other powered equipment.
Step-by-Step Installation Process
1. Inspect and clean the pit
Sweep out debris, water, and loose concrete. Verify the pit dimensions against the drawing one more time. Confirm that the hydraulic power unit will mount either on the leveler frame or on the pit wall, and install any wall-mounted bracket before the leveler blocks access to the pit.
2. Lower the leveler into the pit
Use the fork pockets or a chain spreader bar to keep rigging clear of painted surfaces. Lower the unit slowly, keeping hands and feet away from frame edges. Set the leveler onto temporary shims so you can still adjust its position, and never let the unit rest on the hydraulic cylinder or hose fittings.
3. Shim and level the frame
Place shims under the frame at the four corners and at the center of each side rail. Work the platform top surface until it is flush with the finished dock floor, normally 3 to 5 mm below the floor line so the deck does not create a bump. Check level in both the length and width directions. If the installation uses a welded method, weld the shims to both the leveler frame and the embedded steel; loose shims work themselves out over time and cause the leveler to rock under load.
4. Secure the frame to the pit
Weld or bolt the frame according to the drawing. Welds are usually short stitch welds at marked locations on each side. Bolt installations require torque values from the manual, applied with a calibrated torque wrench. Recheck level after welding, because weld heat can pull the frame slightly out of square.
5. Connect the hydraulic system
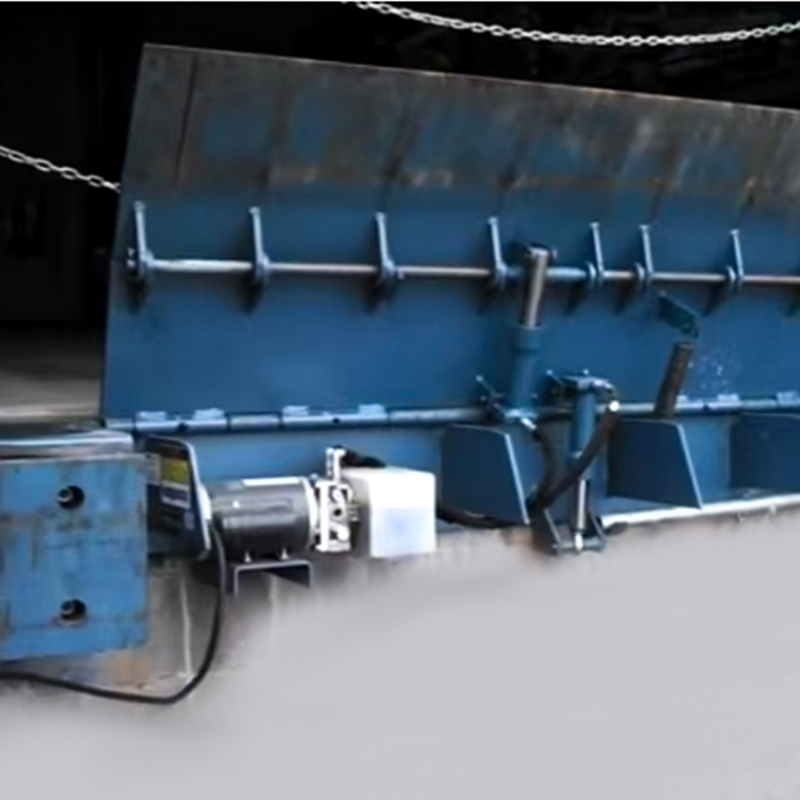
Mount the power unit if it is wall-mounted. Connect the pump-to-cylinder hoses using the correct ports for the platform raise and lip functions. Route hoses through the openings provided in the frame, never across sharp edges. Tighten fittings to the specified torque and check that all hose ends are fully seated before filling oil.
6. Fill hydraulic oil and bleed the system
Fill the reservoir to the sight-glass level with the manufacturer-recommended fluid. Manually stroke the platform several times, or use the manual release valve, to move air out of the cylinders and hoses. Run the cycle automatically and watch for jerky movement or foaming oil, both signs of trapped air. Top up the reservoir after bleeding.
7. Adjust the lip and limit switches
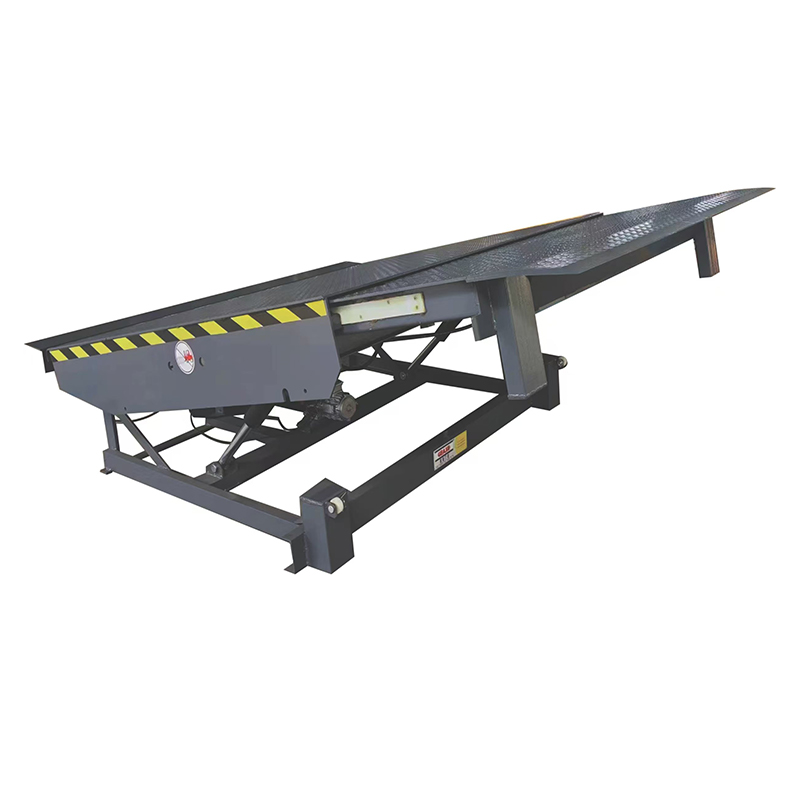
The lip circuit has its own controls. Confirm that the lip extends only when the platform reaches dock height, and that it rolls over the trailer floor instead of pushing down on it. Adjust the limit switches so the lip retracts fully before the platform lowers into the cross-traffic position. If your unit is a telescopic-lip model, such as the DL2000 industrial dock leveler with telescopic lip, verify that the moving lip section has full clearance to slide out and back over the complete stroke range.
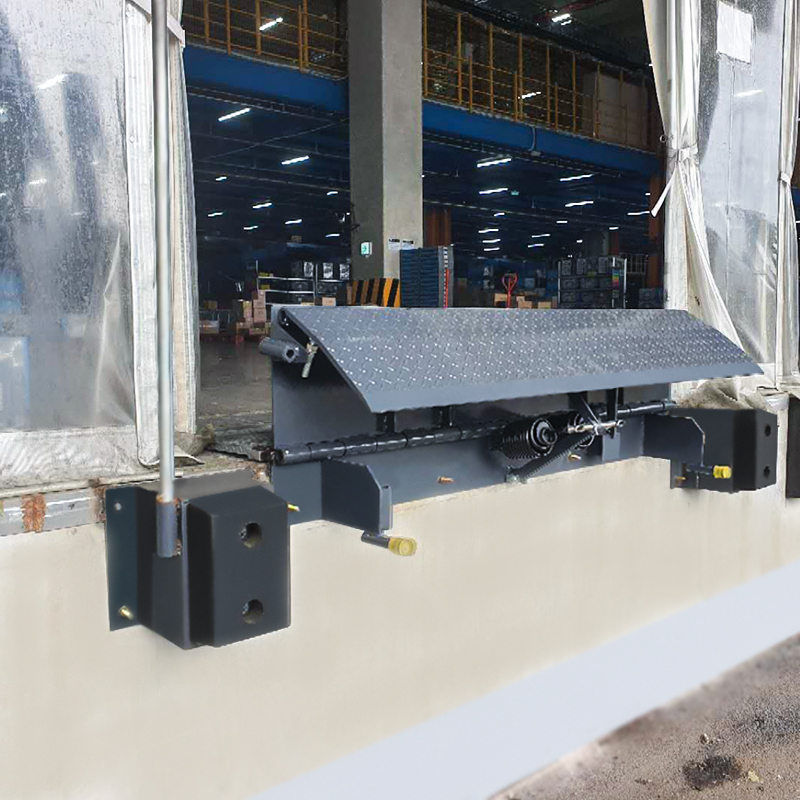
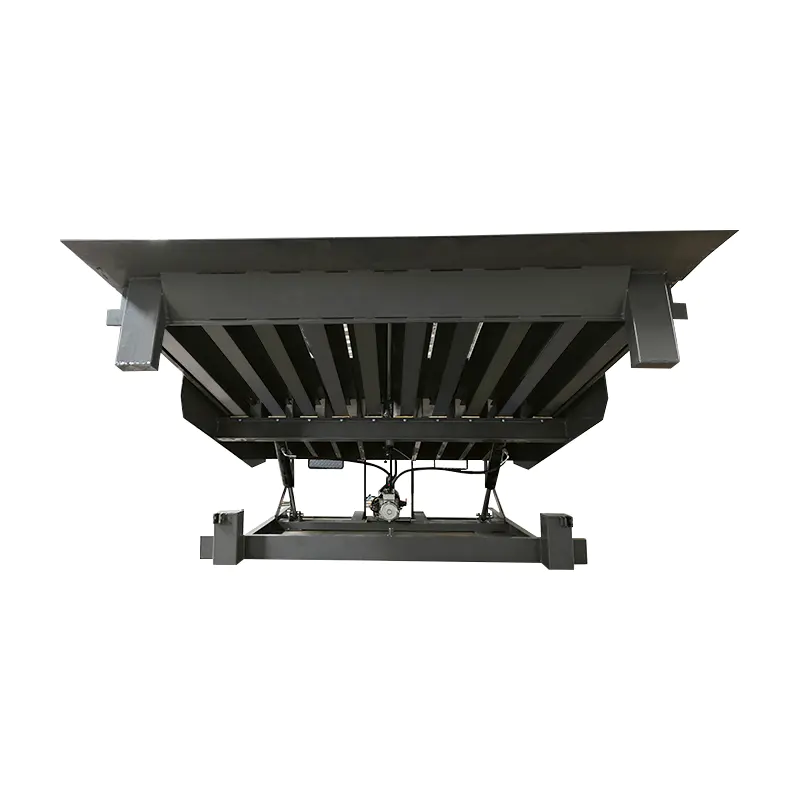 Wholesale DL-2000 Industrial Dock Leveler With Telescopic Lip Manufacturers, OEMDongtai Geajie Intelligent Equipment Co., Ltd. is China OEM/ODM DL-2000 Industrial Dock Leveler With Telescopic Lip manufacturers and who...View Product →
8. Cycle-test with no load and with load
Run at least ten complete cycles without a forklift, then test with a vehicle at the dock. Each cycle should be smooth: platform rising, lip extending, lip resting on the trailer bed, platform lowering, and lip retracting. Listen for knocking or hammering sounds, which usually indicate air or loose connections. Finally, apply a load near the rated capacity and confirm that the platform holds its position without excessive deflection.
Common Installation Mistakes and Their Consequences
- Ignoring the drawing and using a pit that is too shallow. This is the most expensive error, because the pit must be re-poured or the leveler replaced with a shallower model.
- Shimming the frame but not welding the shims. The shims shift, the frame loses support, and the leveler rocks every time a forklift crosses the edge.
- Anchoring into concrete that is still too weak. Anchor bolts become loose within weeks, and the frame begins to move.
- Routing hydraulic hoses through openings without grommets or leaving them too tight. Vibration chafes the hose and eventually causes a leak and a stuck platform.
- Skipping the air-bleeding procedure. The platform moves in jerky steps, the lip drops abruptly, and the pump runs hotter than it should.
- Not checking side-to-side level. A tilted platform wears the lip hinges unevenly and increases the risk of forklift tire impact.
None of these problems appears on the first-minute test. They show up days or weeks later, after the dock is in permanent use. It takes much longer to correct a rocking frame or a leaking hose than it would have taken to check the pit and bleed the system properly during installation.
Post-Installation Testing and Maintenance Routine
The install is not finished until you have records. Note the leveler serial number, installation date, hydraulic oil type, and the measured pit dimensions in the equipment file. Perform a load test at the rated capacity, ideally with a loaded forklift, and inspect every hydraulic connection for leaks after the first ten cycles.
Confirm that safety features engage every time. The cross-traffic leg or parking latch must hold the platform at dock level as soon as the lip retracts, and the lip keepers must prevent the lip from hanging down. If you want a quick refresher on which features matter most during operation, review the hydraulic dock leveler safety features covered in our industry notes.
Build a maintenance routine from day one: check the hydraulic oil level monthly, lubricate pivot pins and roller bearings per the manual, inspect hoses for chafing or cracking quarterly, and have the power unit serviced on the manufacturer's schedule. A documented baseline makes later fault diagnosis much faster.
When to Bring in a Professional Installer
Not every installation must be handled by the manufacturer's own crew, but some situations justify the cost. If the pit has already been poured with the wrong depth or width, a professional can assess whether an extension frame or a different leveler model can save it. If your team has no experience with hydraulic circuits or three-phase wiring, hire a technician for the power unit connection rather than risking a damaged pump or an unsafe control setup. For levelers rated above roughly 20 tonnes, or for pits with unusual front edge conditions, manufacturer-authorized installers can adjust lip throw, dock height, and limit switch settings in one pass rather than through trial runs.
Before you schedule any installation, compare the model to the pit. A short briefing on the working principle of hydraulic dock levelers can help your maintenance team understand what the cylinder, lip, and safety leg are supposed to do on every cycle, which makes the commissioning process faster and safer.
